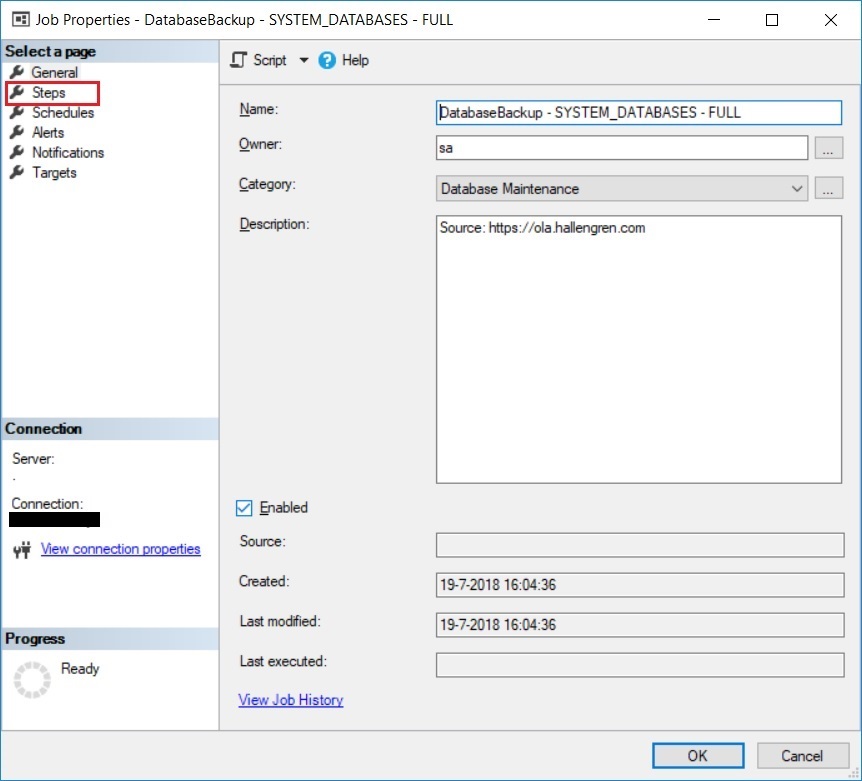
You can configure SQLAgent to cleanup the jobhistory in a number of ways.
This is one smart and easy way:
DECLARE @CleanupDate datetime
SET @CleanupDate = DATEADD(dd,-30,GETDATE())
EXECUTE dbo.sp_purge_jobhistory @oldest_date = @CleanupDate
Most of the time these solutions work fine if all the jobs have a somehow equal number of history-records.
If one or some of the jobs run far more frequently than others, you can have issues trying to find a cause of jobissues in less frequently run jobs, because the history has been purged.
That was my use-case.
I’ve found a handy script to help me with that: https://www.mssqltips.com/sqlservertip/2798/sql-server-agent-history-custom-purge/
I ended up using a completely modified script that runs in a SQL Agent job every day (or multiple times a day, depending on the workload and jobhistory).
I’d like to see all jobs that have failed recently, and I’d also like to see a recent set of succesful runs. Jobs that run very frequently and have no issues, will fill the jobhistory in MSDB. I’d like to keep only a small set of those.
My script helps to cleanup the jobhistory in MSDB while keeping a set of recent successful runs and failed runs for each job.
You can set the size of those sets in the parameters on top.
The script uses a temporary table in tempdb to store the initial history records and then deletes data in small sets and transactions from MSDB.
This helps prevent issues such as deadlocks in busy systems where a lot of jubs start and stop.
I hope this will help you too. Enjoy and please let me know if you’re using it or not.
--ref: https://www.mssqltips.com/sqlservertip/2798/sql-server-agent-history-custom-purge/DECLARE @failed_history_records int = 50;DECLARE @successful_history_records int = 50;DECLARE @running_history_records int = 200;DECLARE @max_age_days int = 30;DECLARE @batch_size int =1000DECLARE @rows int =1DROP TABLE IF EXISTS #cte_sysjobhistory;SELECThist.categoryname,instance_id,job_id,step_id,run_status,msdb.dbo.agent_datetime(run_date,run_time) AS starttime,IIF(run_status = 4 OR run_status = 2, NULL, DATEADD(second, LastRunDurationSeconds, msdb.dbo.agent_datetime(run_date,run_time))) AS endtimeINTO #cte_sysjobhistoryFROM (SELECT (run_duration / 10000) * 3600 -- convert hours to seconds, can be greater than 24+ ((run_duration % 10000) / 100) * 60 -- convert minutes to seconds+ (run_duration % 100) AS LastRunDurationSeconds,c.name AS categoryname, run_date, run_time, run_duration, jh.job_id, instance_id, step_id, run_statusFROM msdb.dbo.sysjobhistory jhINNER JOIN msdb.dbo.sysjobs sj ON sj.job_id = jh.job_idINNER JOIN msdb.dbo.syscategories c ON c.category_id = sj.category_id) histWHERE msdb.dbo.agent_datetime(run_date,run_time) > GETDATE() - @max_age_days;while @rows >0BEGINBEGIN TRYBEGIN TRANDELETE TOP (@batch_size)FROM msdb.dbo.sysjobhistoryWHERE instance_id NOT IN (SELECT instance_idFROM #cte_sysjobhistoryWHERE categoryname IN ('Database Maintenance')UNIONSELECT instance_idFROM (SELECT final.instance_id --succesful runsFROM #cte_sysjobhistory finalINNER JOIN (SELECT instance_id, rankedset.job_id, starttime, endtime--, duration_ddhhmmssFROM (SELECT instance_id,job_id,starttime,endtime, RANK() OVER (PARTITION BY job_id ORDER BY instance_id DESC) AS RowNumFROM #cte_sysjobhistoryWHERE step_id=0 AND run_status = 1) rankedsetWHERE RowNum <= @successful_history_records) topsetok ON final.job_id = topsetok.job_id ANDfinal.starttime >= topsetok.starttime ANDfinal.starttime <= topsetok.endtimeUNIONSELECT jh.instance_id --failed runsFROM #cte_sysjobhistory jhINNER JOIN (SELECT instance_id,rankedset.job_id, starttime, endtimeFROM (SELECT instance_id,job_id,starttime,endtime, RANK() OVER (PARTITION BY job_id ORDER BY instance_id DESC) AS RowNumFROM #cte_sysjobhistoryWHERE step_id=0 AND run_status IN (0,3)) rankedsetWHERE RowNum <= @failed_history_records) topsetnotOK ON jh.job_id = topsetnotOK.job_id ANDjh.starttime >= topsetnotOK.starttime ANDjh.starttime <= topsetnotOK.endtimeUNIONSELECT instance_id --active runsFROM (SELECT jh.instance_id, job_id, jh.step_id, jh.run_status, RANK() OVER (PARTITION BY job_id ORDER BY instance_id DESC) AS RowNumFROM #cte_sysjobhistory jhWHERE step_id>0 AND run_status IN (2,4)) runningWHERE RowNum < @running_history_records) a)SET @rows=@@ROWCOUNTCOMMIT TRANEND TRYBEGIN CATCHPRINT 'Not all history could be deleted'ROLLBACK TRANSET @rows=0 --> stop loopEND CATCHEND


